
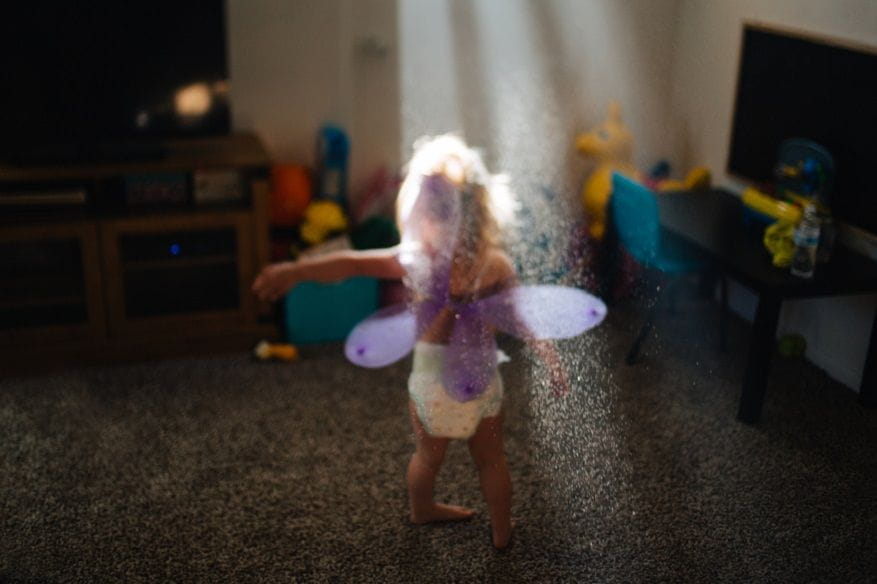
DIY Butterfly Wings She'll Sport All Summer Long
Who knew geometry could be so enchanting? Butterfly wings are a lovely example of symmetry: each vibrantly colored and intricately patterned wing is a beautiful mirror image of the other.
This wearable-wing project (using materials you’re likely to have in the house already) just happens to be a fun way to talk about symmetry, as well as explore the fascinating world of insects, or simply spend a delightful spring afternoon together. It's an easy at-home activity that's inspired by our summer school-age curriculum.
Make some butterfly wings for the colorful little sprite in your life—and we promise she'll wear them all summer long. Here's how.
Materials
- Large paper grocery bag
- Child-size scissors
- A piece of ribbon approximately 3-feet long
- Paint, brushes, and a plate or small bowls for each paint each color
- Optional: Stickers, glitter and glue, markers, crayons, and any other decorative materials
Instructions
-
Invite your child to cut along one of the long folds in the paper bag down to the bottom, and then cut to remove the bottom of the bag entirely so that she has one long, flat sheet of paper (younger children may need a bit more help with the cutting).
-
Have her fold the sheet of paper in half and draw the shape of one large butterfly wing. The inside of the wing should line up along the center crease. If needed, help her cut out her design, which can be a little tricky because she’s cutting through two layers of folded paper. When she unfolds the finished product it will reveal two wings that are symmetrical in size and shape and connected in the center—presto, symmetry!
-
Time for decorating! To create a symmetrical design on the wings, your child can dab spots and swaths of paint on one side and then fold the halves back together to transfer the paint to the other side. If she’s interested, she can also practice painting each side separately in a symmetrical pattern, or use other materials like stickers or glue and glitter. If she’s younger, you can set symmetry aside and let her freestyle her design. Of course, you should feel free to decorate both front and back of the wings.
-
When the paint has dried, have your child cut four small holes in the wings, with two on each side of the crease (approximately 3-inches apart) near the top and two on each side of the crease (again, approximately 3-inches apart) near the bottom.
-
Help her knot one end of the ribbon and then thread it through the holes to create arm straps like the ones on a backpack: Begin by threading through from back to front, starting at the bottom; thread back through at the top hole on the same side; cross over to the top hole on the other side and thread through so that you have a line of ribbon across the top on the back side of the wings; finally thread the ribbon through the bottom hole on the same side and knot it.
Your child can now slip on her wings and fly off to explore the flowers in your garden or a blossom-filled faux field otherwise known as your living room or basement. Also fun: pretending to be a wiggly little caterpillar who curls up into a cocoon and then emerges a beautiful butterfly!


