
Let Your Creativity Shine! Cool Salt Art Inspired by the Sky
Salt makes a great alternative to glitter in this art project, which is a favorite with children. When salt mixes with paint, the finished picture glitters and sparkles. It's a great way to paint rain, snow, or sunshine!
Materials for Salt Art Projects
- Table salt in a shaker or bowl
- Glue: white or clear liquid (optional)
- Paint brushes
- Food coloring (or liquid watercolors if you have them)
- Tag board or poster board (paper plates will work in a pinch, but plain paper will wrinkle)
- Jar of water
- A baking tray or art tray (this will help contain drips of paint)
Salt Painting Instructions
1. Place your tag board or paper plate “canvas” onto a cookie sheet or art tray with sides.
2. If using glue, squirt out a fun pattern for your sky. Don’t worry about trying to make perfect puffy clouds. Use your imagination!
3. Liberally cover the glue with salt and shake off the excess.
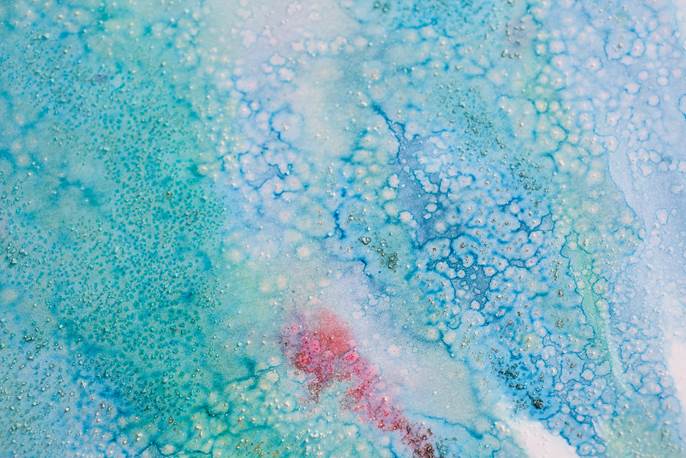
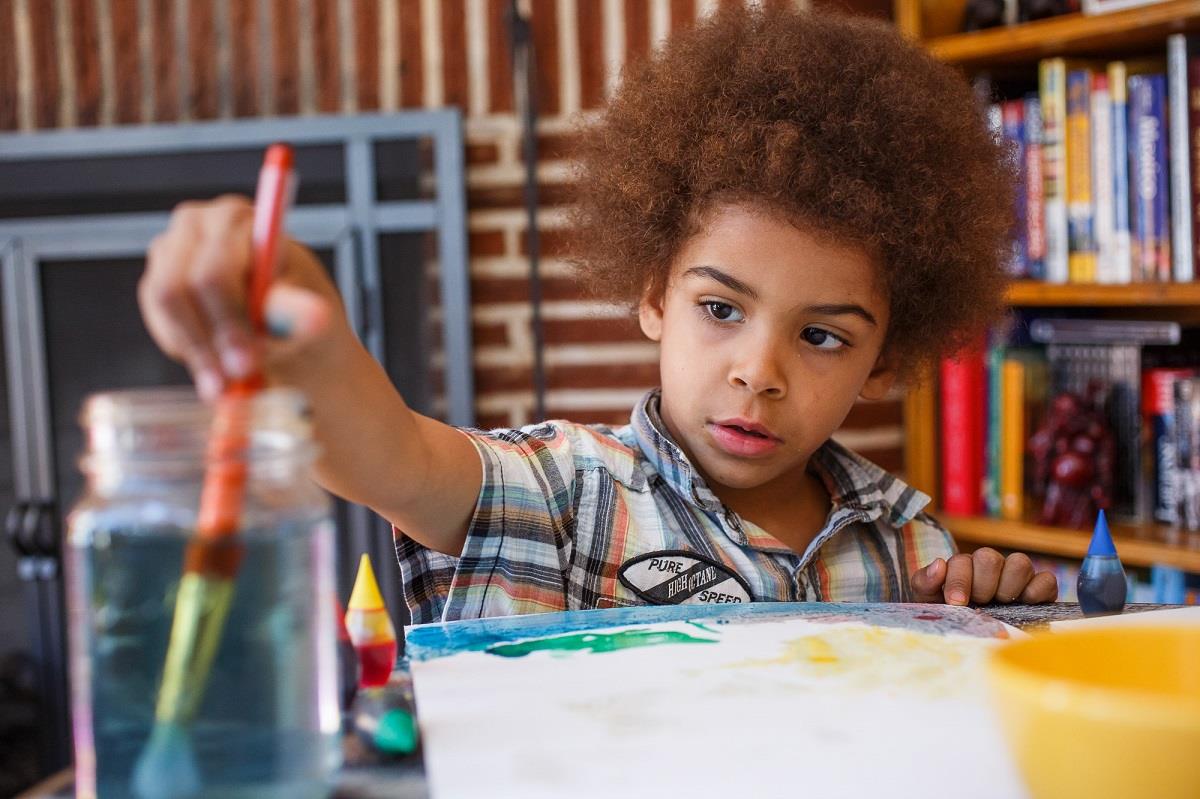
4. Drip a few drops of food coloring or liquid watercolor over the glue; use as many colors as you'd like. The salt will quickly absorb the color, which is totally cool to watch! (You can also dip a brush in water and add it to food coloring to see what happens.)
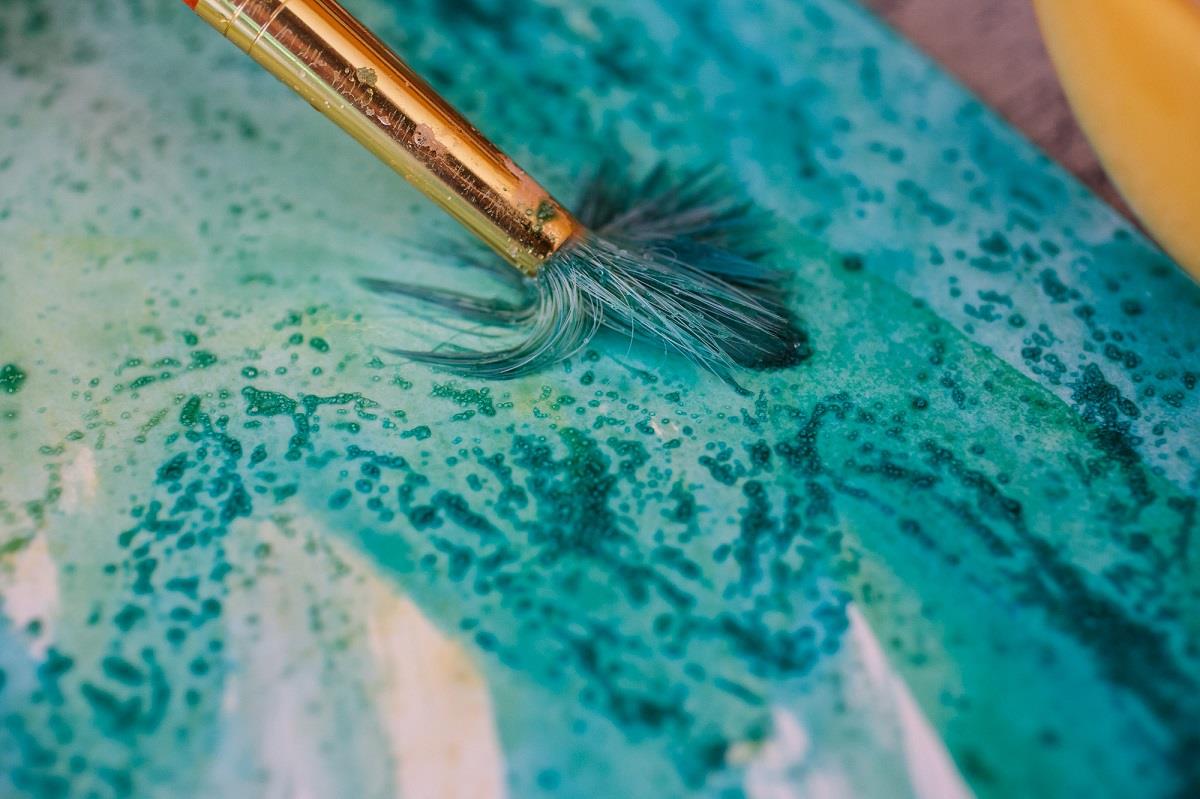
5. Have fun and experiment with techniques. Tilt the tray so that the food coloring rolls around or use a brush to blend the colors to create the sky of your dreams.
6. Add more sparkle to your sky: Shake some salt directly onto the food coloring. (The painting should be fairly wet so the salt absorbs the color.)
7. Conversation points: As you make your sunbursts and sparkling skies together, tell your child about some of the most beautiful skies you’ve seen or talk about a time you got caught in a rainstorm. Ask your child what kind of weather they like best.


