
Sweet Tarts: Pop These Healthier Homemade “Toaster” Pastries on the Table

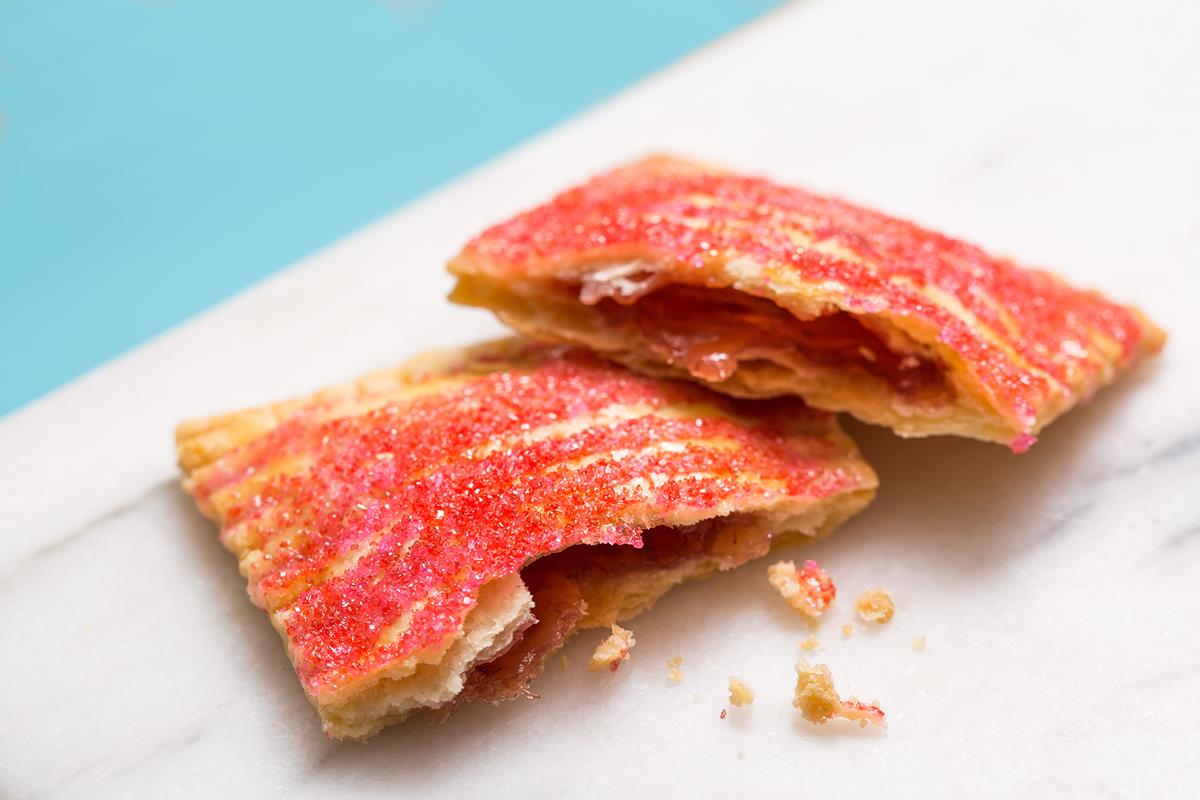
Nothing beats nostalgic childhood treats made a wee bit healthier and—we think—even yummier! Sure, our adorable Pop-Tarts® wannabes aren’t exactly a kale salad, but unlike the original version, you’ll recognize all the ingredients (full recipe below). Plus, we’ve used all-fruit jam in the filling and reduced the amount of glaze to just a drizzle so that we can cut back further on the sugar. (We also bake them in an oven instead of a toaster, but that’s just splitting hairs…)
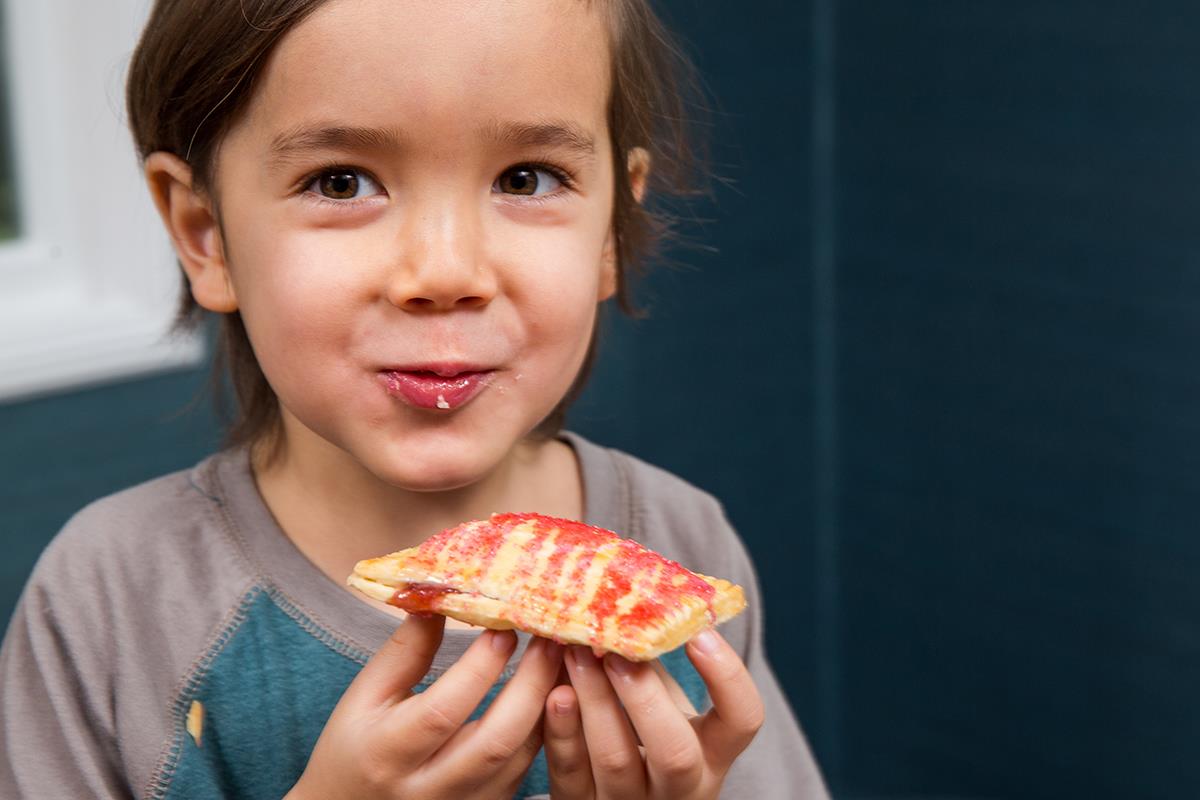
We’d also like to add that the occasional indulgence is part of a healthy life. So gather your little dearly beloveds, some tall glasses of milk, and enjoy!
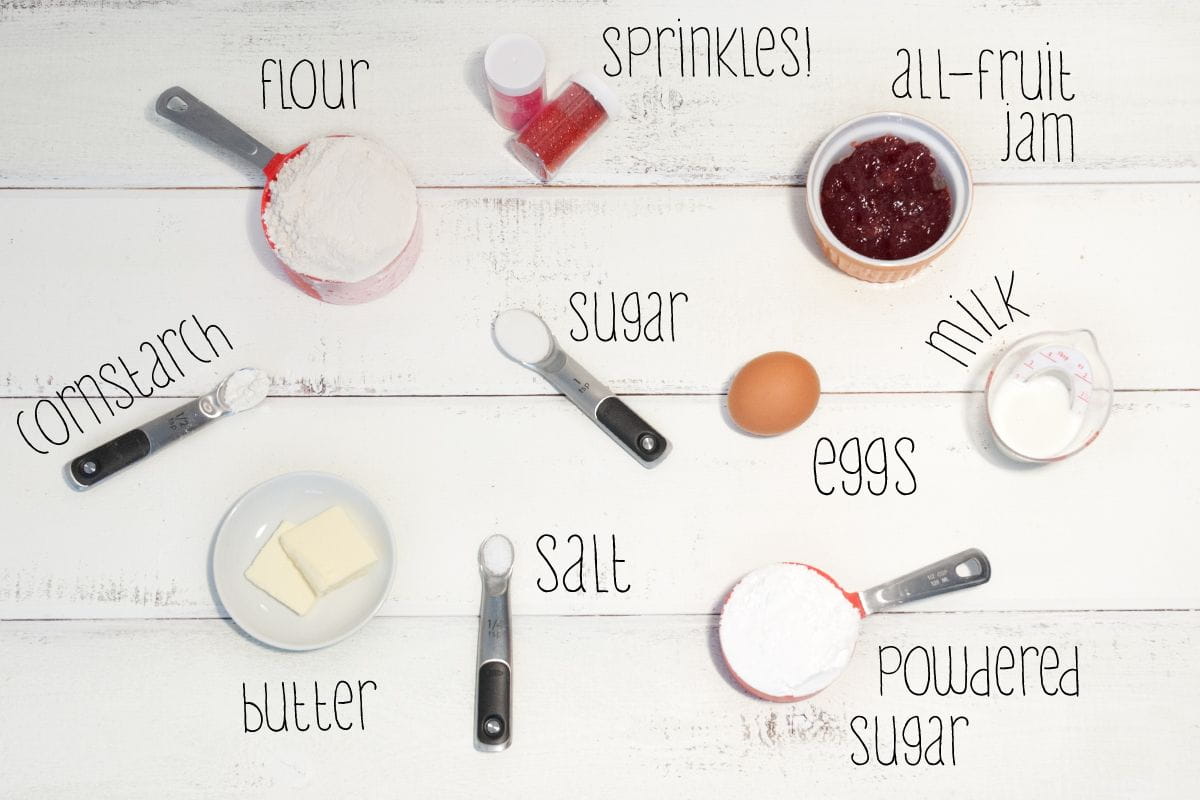
It’s hard to believe the building blocks for our adorable “toaster” pastries are so basic—chances are you have all the ingredients in your house already, even if you’ve been too busy to hit the grocery store this week.
If you’re less concerned about healthy tweaks, you can swap the all-fruit jam out for dabs of Nutella, marshmallow fluff (drizzle with chocolate), peanut butter and jelly, or brown sugar and cinnamon.
Cornstarch not a staple in your home? Buy it to make these pastries and then use the rest for all these other cool things.
Scroll down to our recipe and it may seem like these pastries require a lot of steps. But we promise—they’re actually quite easy and require minimal active work!
The main factor that adds time to the process is that you repeatedly chill the dough. You don’t have to do this, but keeping the fat (i.e., butter) cold is an essential part of what creates a delectably tender and flaky crust. Skip the chilling steps and your crust may lean more to the hard and crunchy side.
Another key step in getting the ideal crust is properly cutting the cold butter into the dry ingredients—here’s what it should look like.
Short on time? Make the dough a day or two earlier, keep it refrigerated, and then assemble and bake the pastries when you’re ready to eat.

In our centers, we embrace family-style eating—encouraging children to serve themselves teaches them important social skills (like passing items, sharing, being patient, and saying “please” and “thank you”) and how to listen to their own hunger cues. Allowing them to get in on the serving action can also inspire them to try new foods.
Of course, most children won’t shy away from trying sweet and buttery pastries topped with pink glaze and sprinkles. For a more balanced snack, we suggest serving a platter of the pastries with bowls of fresh fruit and a small pitcher of milk. If having the pastries for breakfast, set them out with a bowl of scrambled eggs and a plate of uncured turkey bacon or chicken sausages.
Sure, there will likely be some spills when children take the lead, but also lots of smiles.
Store any leftovers in an airtight container at room temperature for up to 3 days, or in the refrigerator for up to a week. To reheat, bake them on a tray at 350 degrees in the oven for 10 minutes. You can also try reheating them on a tray in your toaster oven, but timing will vary depending on your machine and settings. Note: The glaze will melt a bit when you reheat the pastries, so if you know you will have extras, consider storing them unglazed and then adding the drizzle after the reheating process.
Baked, unglazed pastries can also be frozen in a freezer bag with the excess air removed or in an airtight container for up to three months. When ready to eat, thaw the pastries, reheat for 10 minutes at 350 degrees, and then glaze, sprinkle, and enjoy.
(SLIGHTLY) HEALTHIER HOMEMADE “TOASTER” PASTRIES
* Recipe adapted from The Pioneer Woman and this incredibly helpful how-to post by Sally’s Baking Addiction.
Yields: 9
Time: Varies greatly depending on how long you allow the dough to chill between steps. You can cut back on or even eliminate the chilling aspects of the recipe, but it may affect the texture of the crust.
Ingredients
Pastries:
- 1½ cups all-purpose flour, measured correctly
- 1 teaspoon sugar
- ¼ teaspoon salt
- ½ cup cold unsalted butter, cubed
- 1 cold egg
- ½ tablespoon cornstarch
- 1/3 cup all-fruit jam
- Egg wash (1 beaten egg mixed with 2 tablespoons milk), for brushing the top of the pastries
Glaze:
- 1 cup powdered sugar
- 1 tablespoon all-fruit jam
- 1–2 tablespoons milk
- Optional: Sprinkles
Instructions
- In a medium mixing bowl, whisk together the flour, sugar, and salt.
- Add the cold, cubed butter to the bowl and cut it into the flour mixture using 2 knives or 2 forks (if you have a pastry blender, you can use that instead, or put the flour, sugar, salt, and cold, cubed butter in a food processor and pulse the mixture a few times). All the butter should be pea-sized and coated in flour.
- Beat the cold egg in a small bowl and add it to the flour mixture, stirring just until the dough coheres. If you have loose flour, add ice water a tablespoon at a time just until the dough begins to clump.
- Gather the dough with your hands and knead it in the bowl a couple of times until smooth. Separate into two balls and flatten each into a disc, about 1-inch thick. Wrap the discs in plastic and chill in the refrigerator for 2 hours (at least 30 minutes, but up to 3 days).
- In a small saucepan, mix the cornstarch with ½ tablespoon cold water. Add the jam and mix all together.
- Bring the jam mixture to a boil and simmer, stirring frequently, for 2 minutes. Remove from the heat and set aside to cool.
- Take the discs of dough from the refrigerator and unwrap. If they chilled for 2 hours, let them sit at room temperature for 10–15 minutes until they’re pliable.
- On a lightly floured work surface, roll out 1 disc into a rectangle that is approximately 9x12 inches in size and 1/8-inch thick.
- Cut the rectangle into 9 smaller rectangles, about 3x4 inches each, and place them on a baking sheet lined with parchment paper. If you don’t have parchment paper, just put them on the bare sheet.
- Repeat the rolling and cutting process with the second disc of dough.
- Add 2 teaspoons of the jam filling to the center of each rectangle on the baking sheet. Place one of the other rectangles over each filling-topped pastry and press down on the edges, first with your fingers and then with a fork, to seal the pastries—the fork will also create a pretty pattern on the sides. Use a toothpick or tine of a fork to poke 5–8 holes in each pastry so steam can escape during the baking process.
- Place the pastries in the freezer until firm, about 20–30 minutes. Meanwhile, preheat the oven to 350 degrees.
- When you’re ready, brush the pastries with the egg wash and bake for 22–30 minutes, until golden brown.
- Let the baked pastries rest on the tray for 5 minutes, and then remove to a wire rack to cool completely.
- While the pastries cool, add the powdered sugar, jam, and 1 tablespoon milk to a small bowl and whisk together to create a glaze. You should be able to drizzle the glaze over the pastries, so add more milk as needed to reach the right consistency.
- Place the wire rack of pastries on the empty baking sheet (to catch any mess while you decorate), and then drizzle the tops of the pastries with the glaze. Immediately add sprinkles. The glaze should dry in about an hour—but no need to wait that long before you indulge!


