Let It Snow! Perfect Paper Snowflakes in 6 Simple Steps
By Allison Jones
If you’re like me, your paper cutout “snowflakes” look more like….misshapen marshmallows with a few triangles missing. But this year, the Frozen-loving kids in my life insisted on making snowflakes, well, pretty much all the time. I was determined to become a snowflake master.
The secret to making a snowflake that mimics Mother Nature? Folding your paper to create a six-pointed flake. Here’s how to make one that looks like it fell from the sky.
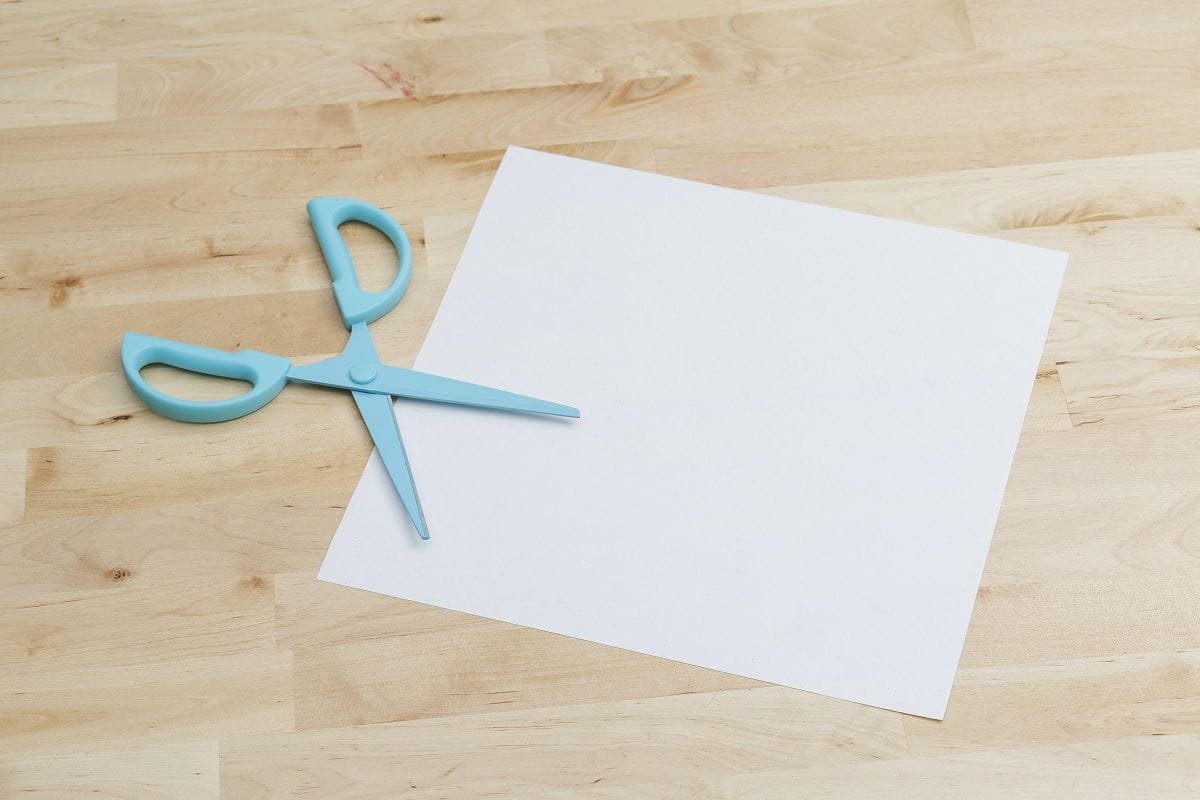
1. Start with a square piece of paper, rather than a rectangle. Craft stores offer pretty paper often used for origami—look for silver, gold, and holiday-hued papers to up the magic. Thinner paper makes cutting easier, but regular printer paper works, too, just trim off one edge of a standard 8 ½ x 11 sheet, to make a square.
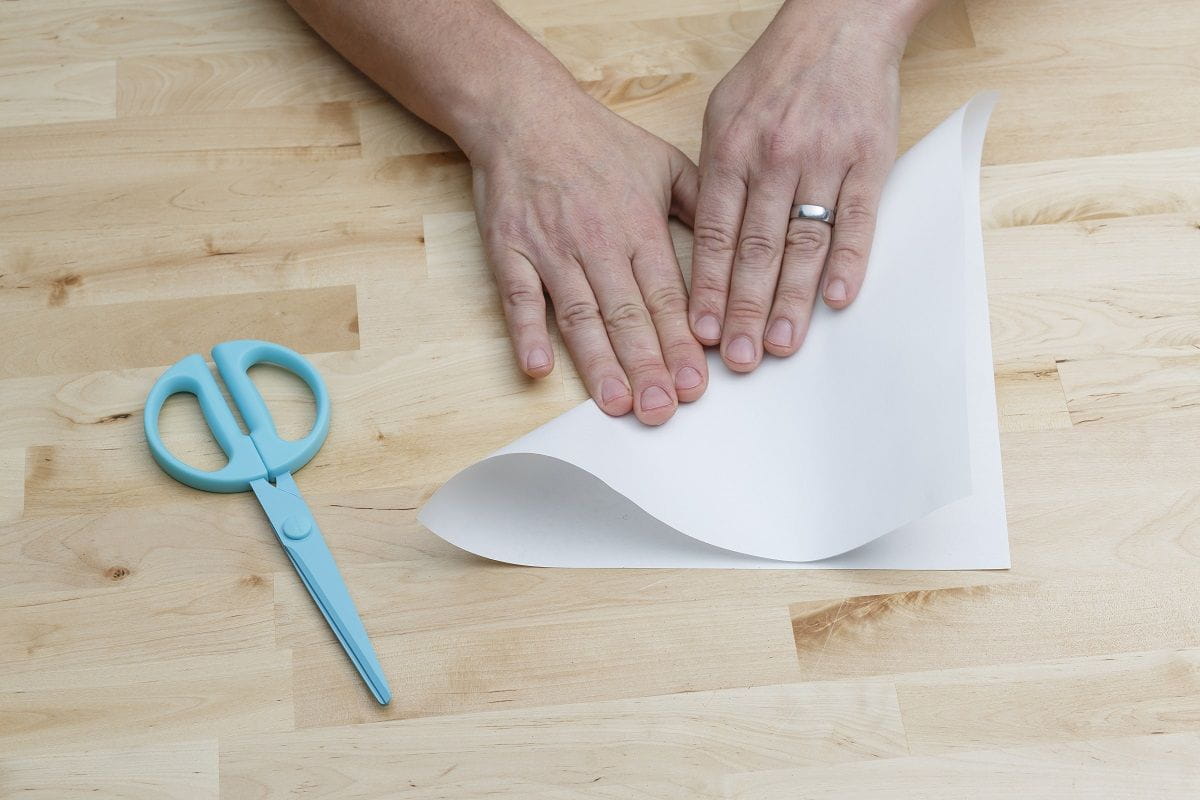
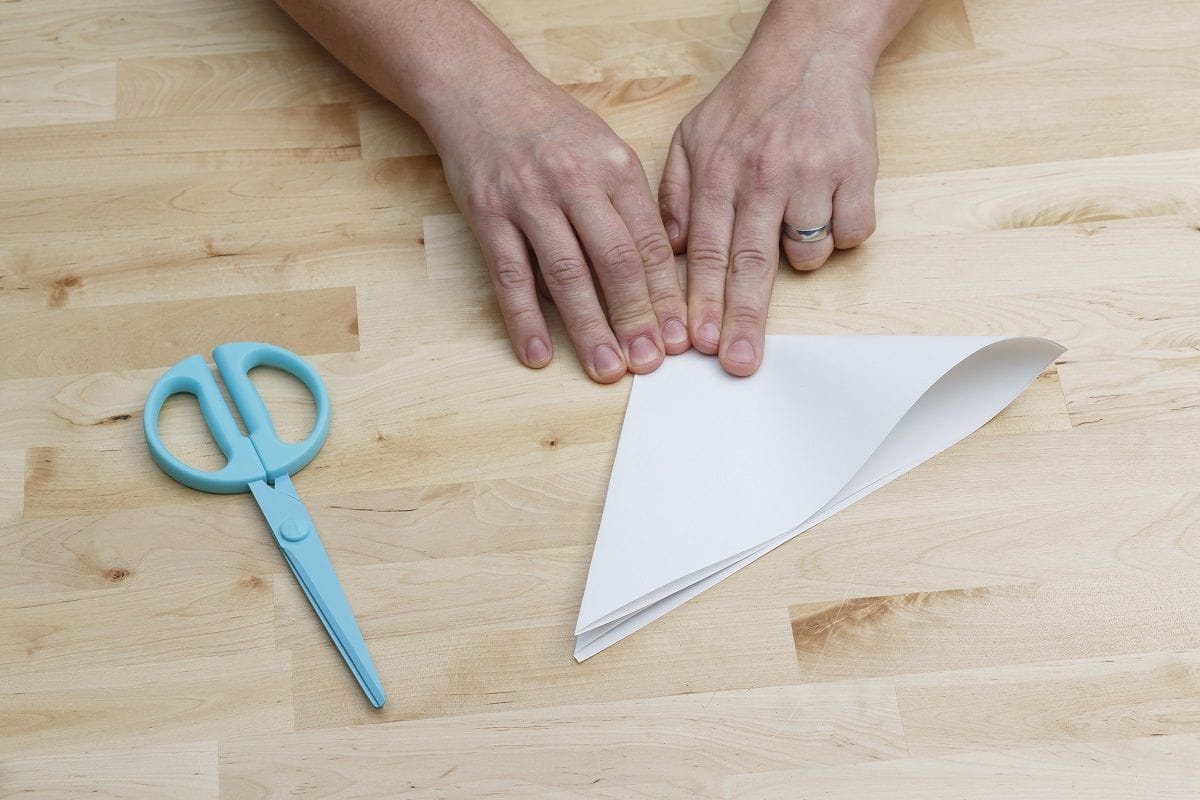
2. Fold it in half to make a triangle. And then fold it in half again to make a smaller triangle.
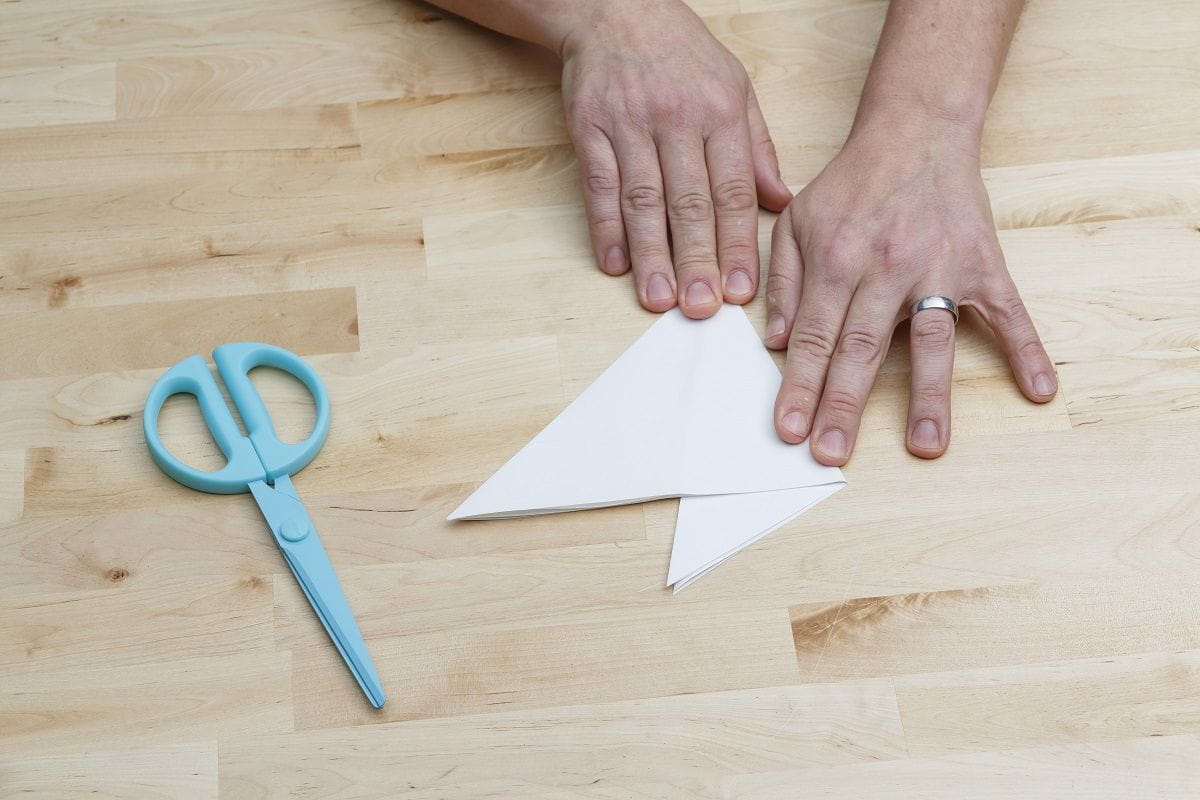
3. This is the super important part: Fold the triangle into thirds so that it matches the picture you see below.

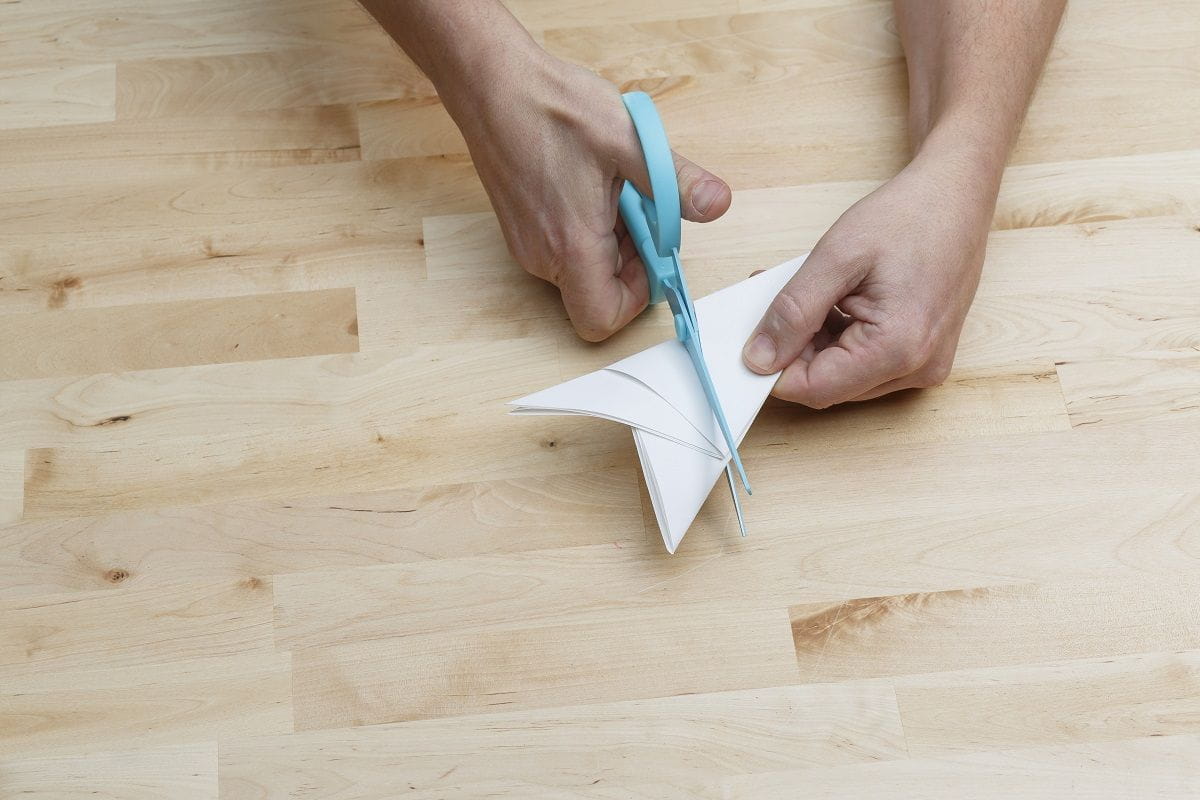
4. Cut off the entire top of the paper at an angle as shown on the image below. (This action will magically create the six-points of the snowflake!)
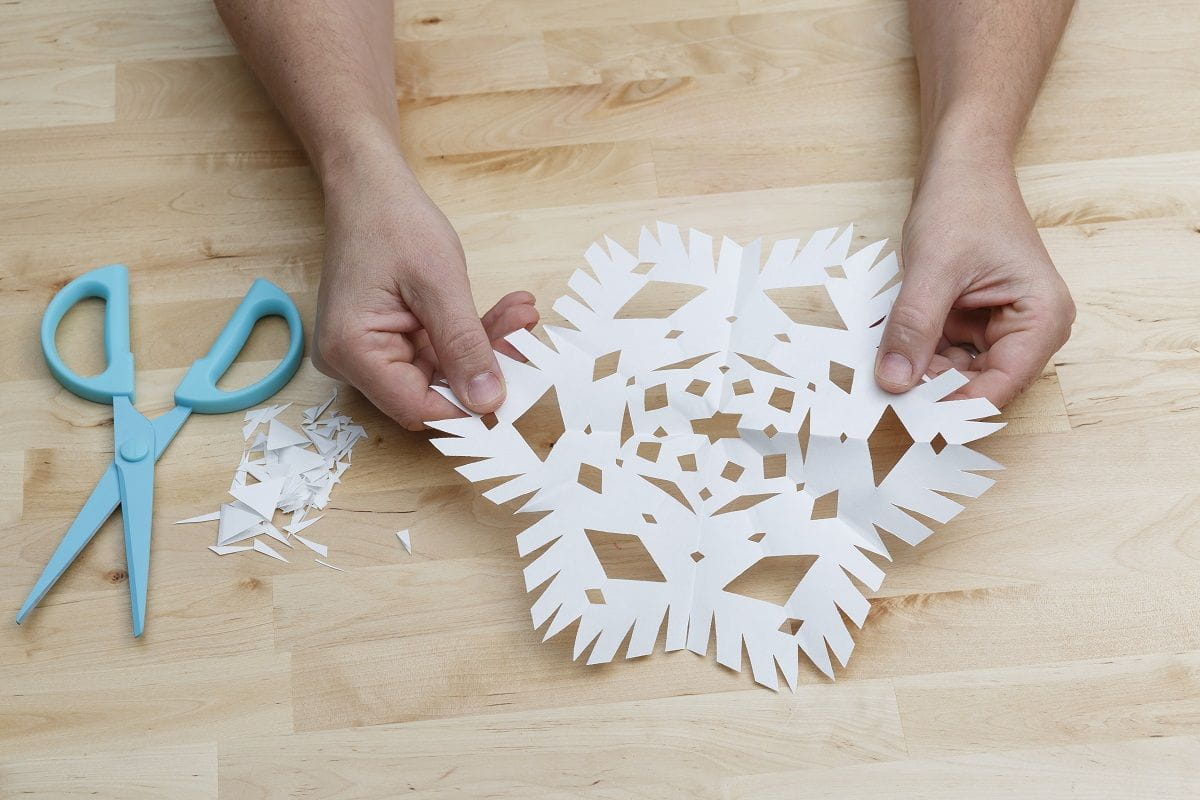
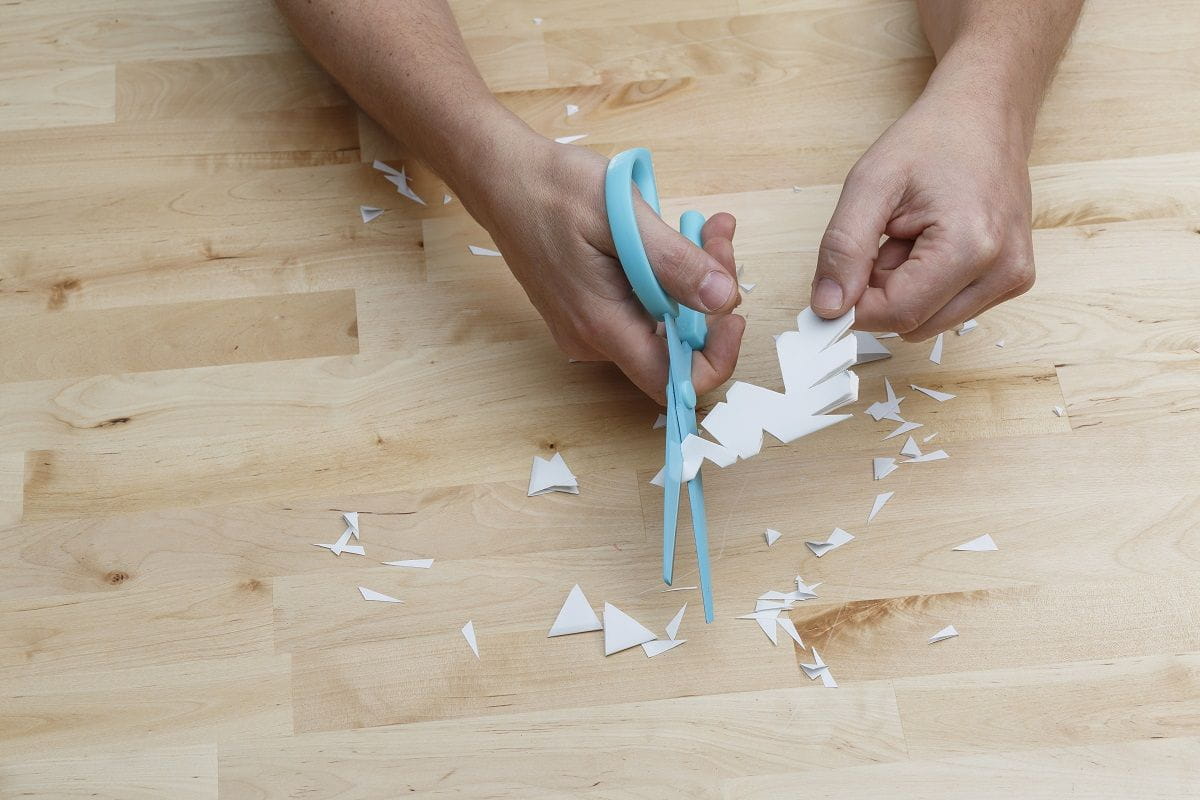
5. Now comes the scissor creativity. Use a variety of triangles, half circles, fringe, and even squiggles to add to your design. Note that, depending on your paper's thickness and the snowflake's overall size, it can take some hand muscle to cut through all the paper folds.
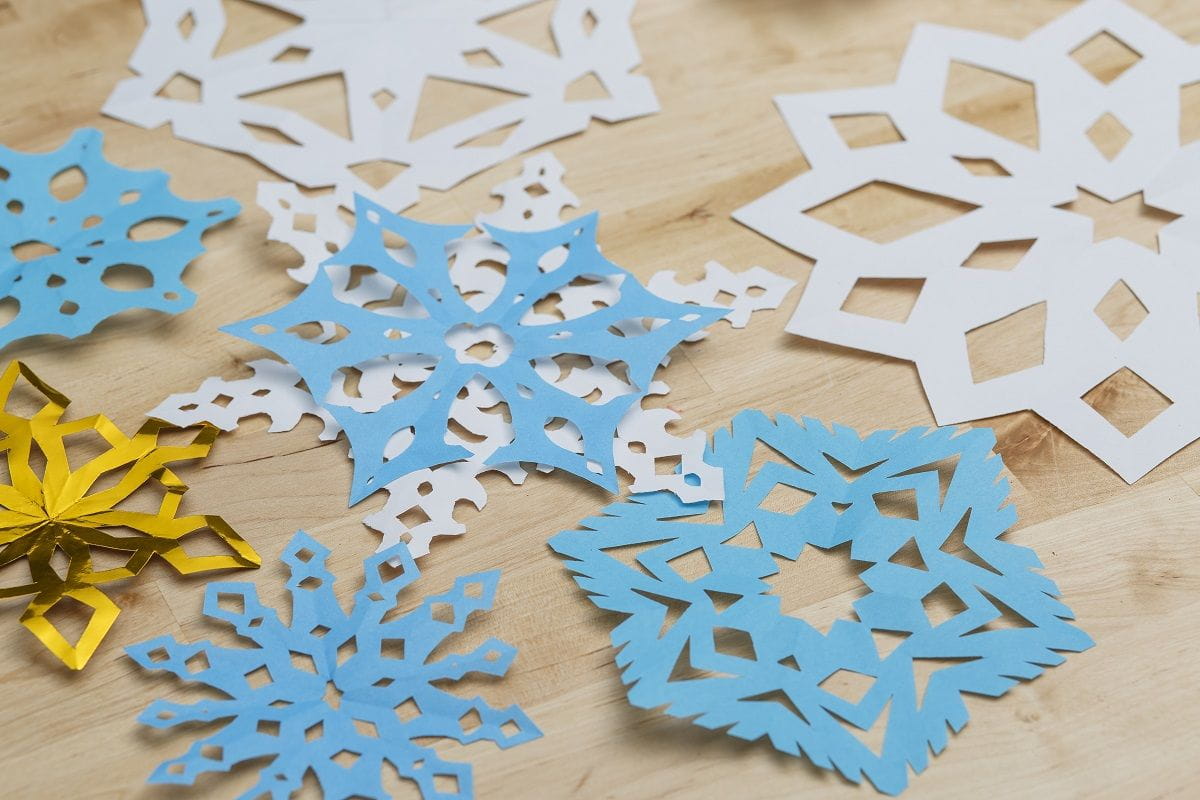
6. Voilà! Paint them and add glitter if you wish. Let it snow!